Template Instructions
Template How-To Guide:
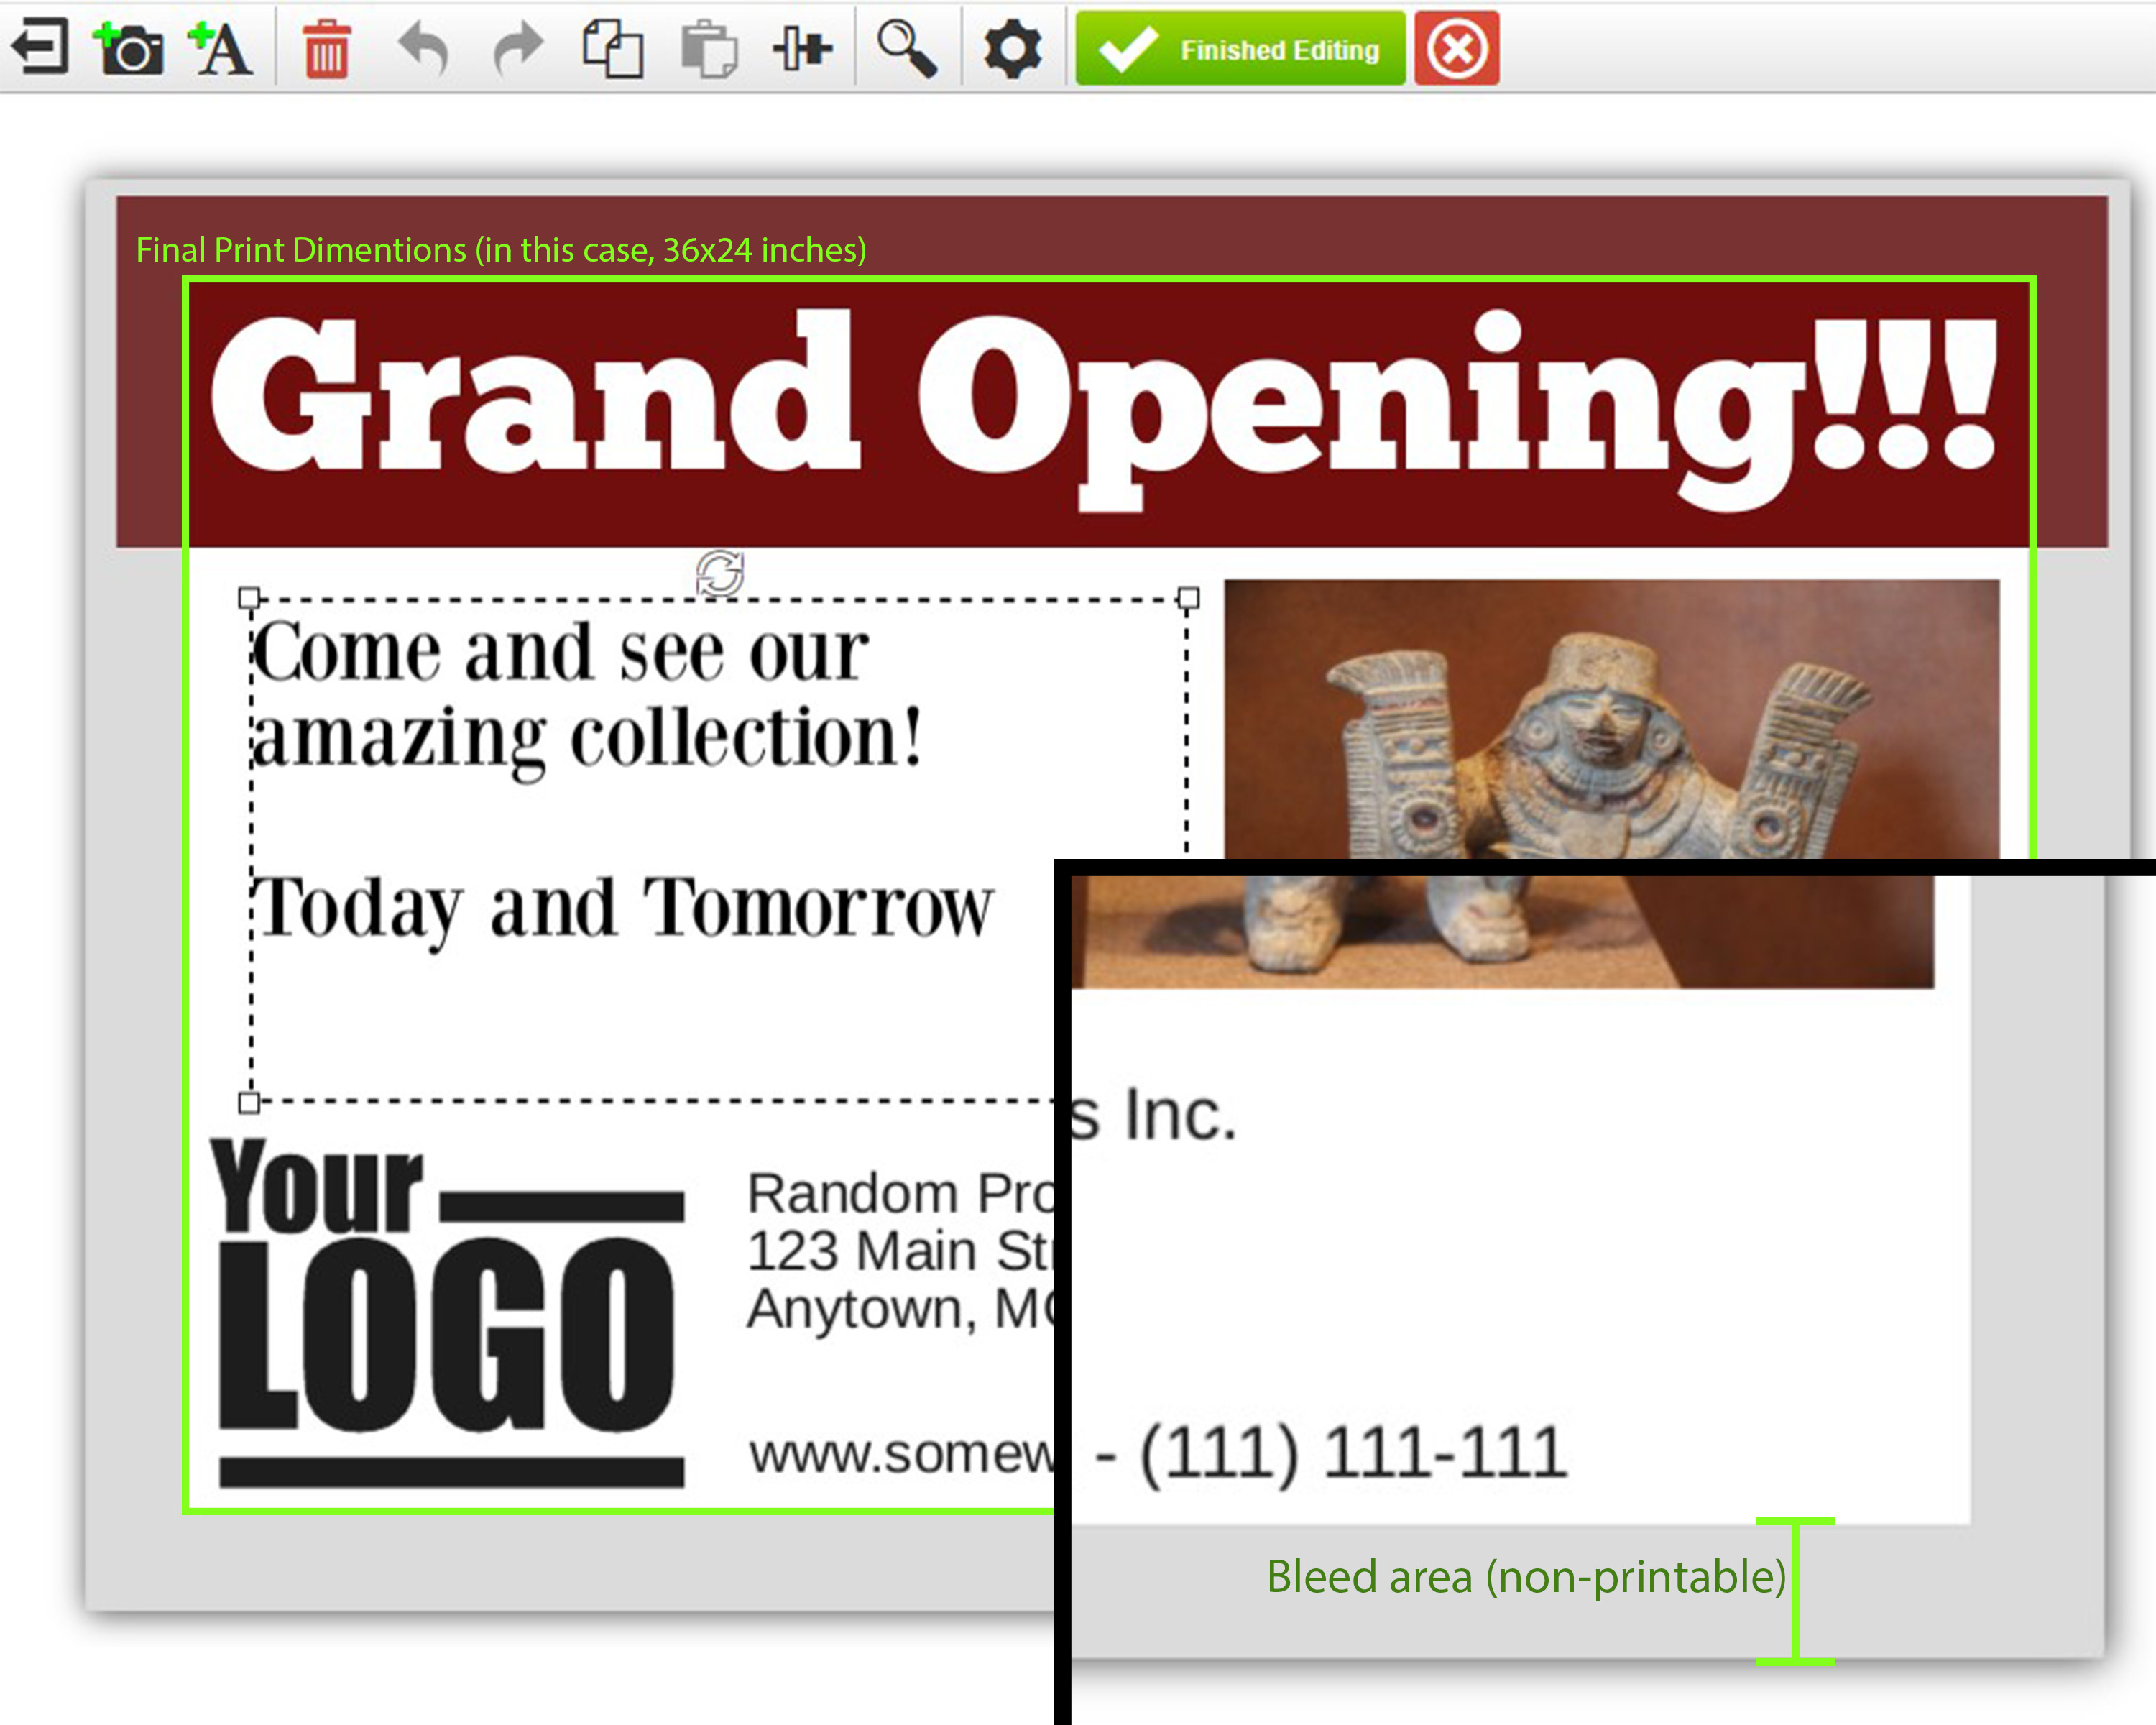
Bleed Border: Every template is surrounded by a 2-inch bleed border. Any text, color, or images that fall into this grayed-out zone will be cut off in the final print.
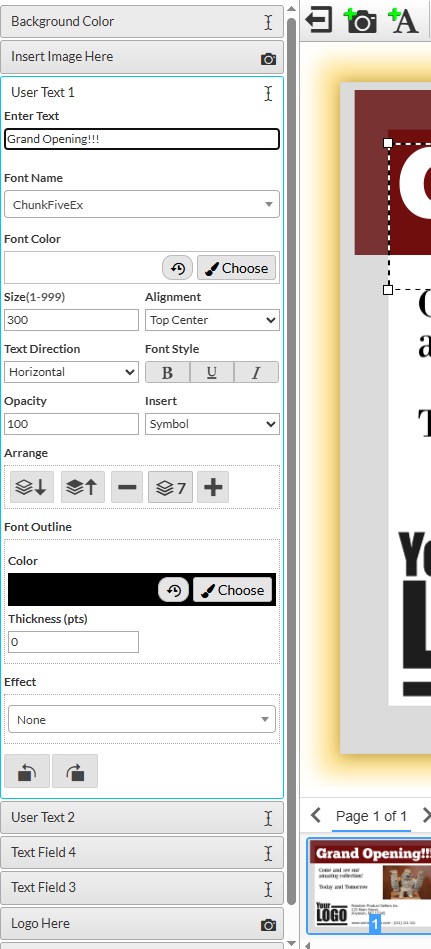
Editing Text: To edit text, first click on the text you want to edit, then look to the left of the screen. The corresponding text box will have opened. Enter whatever text you would like under the “Enter Text” section, then use the options below to adjust the font, size, color, etc.
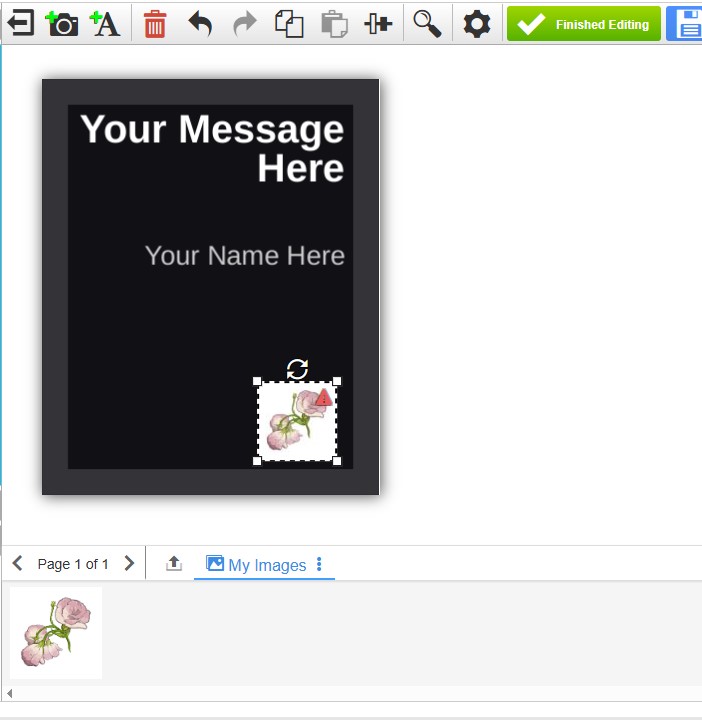
Editing Images: Before doing anything else, look down at the bottom of the page to the “My Images” section. Then, drag your images of choice (PNG, JPG, TIFF, or PDF allowed) towards this section, and a box will pop up next to it. Drop your image in here, and from here you can drag and drop it into any image box you like.
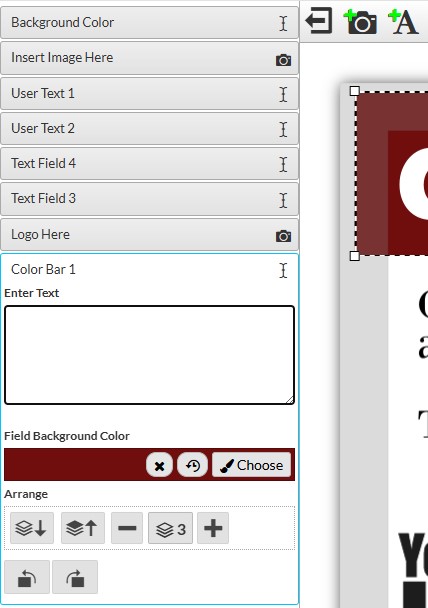
Editing Color Blocks: Click on the color box you want to edit (this may be the background). Look on the left of the page, to the section labeled “field background color”, and select “choose”. From here, you can pick whichever color you like. Ignore the “Enter text” section, as adding text boxes yourself will be much easier
Adding New Text/Image/Color Boxes: Look towards the top of the screen, to the Camera and Capital A symbols:  . This will add a new box to the document, which you can edit freely. Check back with the “editing text” and “editing images” sections if you have questions.
Text/Image/Color boxes can also be deleted by clicking on one, then clicking the red trash can icon above the document